How to make ai photos
Table of Contents
In the rapidly evolving landscape of digital art and content creation, Artificial Intelligence (AI) photo generation has emerged as a revolutionary tool. No longer confined to the realms of science fiction, AI can now produce stunning, photorealistic, and imaginative images from simple text prompts. Whether you’re a marketer looking for unique visuals, a designer seeking inspiration, or an artist exploring new mediums, understanding how to make AI photos is becoming an essential skill. This comprehensive guide will walk you through the process, from choosing the right tools to crafting effective prompts, and explore the exciting possibilities AI photography unlocks.
Understanding the Magic Behind AI Photo Generation
Before diving into the practical steps, it’s helpful to grasp the fundamental technology. AI photo generators, often referred to as text-to-image models, are powered by sophisticated machine learning algorithms. These models are trained on massive datasets of images and their corresponding textual descriptions. Through this training, they learn to associate words and phrases with visual concepts, styles, and compositions. When you provide a text prompt, the AI interprets your words and generates an image that best matches your description, drawing upon its vast learned knowledge. Popular examples of these models include DALL-E, Midjourney, Stable Diffusion, and Google Imagen.
Choosing the Right AI Photo Generator
The first crucial step is selecting the AI tool that best suits your needs and skill level. Each platform has its strengths, weaknesses, and pricing models. Here are some of the most prominent options:
- Midjourney: Known for its artistic and often dreamy aesthetic, Midjourney is accessed through Discord. It excels at generating visually appealing and imaginative images, often with a painterly or illustrative quality. It’s a subscription-based service.
- DALL-E 2/3 (OpenAI): Developed by OpenAI, DALL-E is renowned for its versatility and ability to generate highly realistic images, as well as creative and abstract concepts. DALL-E 3 is integrated into ChatGPT Plus and Microsoft Copilot, offering a more seamless user experience. It operates on a credit system or subscription.
- Stable Diffusion: This is an open-source model, meaning it can be run locally on your own hardware (if powerful enough) or accessed through various web interfaces and cloud services. It offers immense flexibility and customization but can have a steeper learning curve. Many free and paid options exist.
- Adobe Firefly: Integrated into Adobe’s Creative Cloud suite, Firefly is designed with creators in mind, focusing on ethical AI generation trained on Adobe Stock and openly licensed content. It offers features like text effects and generative fill.
- Leonardo.AI: A popular platform that uses Stable Diffusion models, offering a user-friendly interface and a range of pre-trained models for different styles, making it easier to achieve specific looks.
Consider factors like ease of use, image quality, artistic style, cost, and the availability of advanced features when making your choice. For beginners, platforms like DALL-E 3 (via ChatGPT or Copilot) or Leonardo.AI can be excellent starting points due to their intuitive interfaces.
Crafting Effective Prompts: How to make ai photos
The key to generating impressive AI photos lies in your ability to communicate your vision through text prompts. Think of yourself as a director guiding an incredibly talented but literal artist. The more precise and descriptive you are, the closer the AI will get to your desired outcome. Here’s how to master prompt engineering:
1. Be Specific and Descriptive
Instead of “a dog,” try “a golden retriever puppy playing in a field of sunflowers at sunset, with a shallow depth of field and warm, golden light.” The more detail you provide about the subject, action, setting, and atmosphere, the better.
2. Define the Style
Specify the artistic style you’re aiming for. Use terms like:
- “Photorealistic”
- “Oil painting”
- “Watercolor”
- “Digital art”
- “Cyberpunk”
- “Vintage photograph”
- “Anime style”
- “Studio portrait”
3. Consider Composition and Camera Angles
You can guide the AI on how the image should be framed:
- “Close-up shot”
- “Wide-angle view”
- “Aerial perspective”
- “Low angle”
- “Portrait orientation”
- “Landscape orientation”
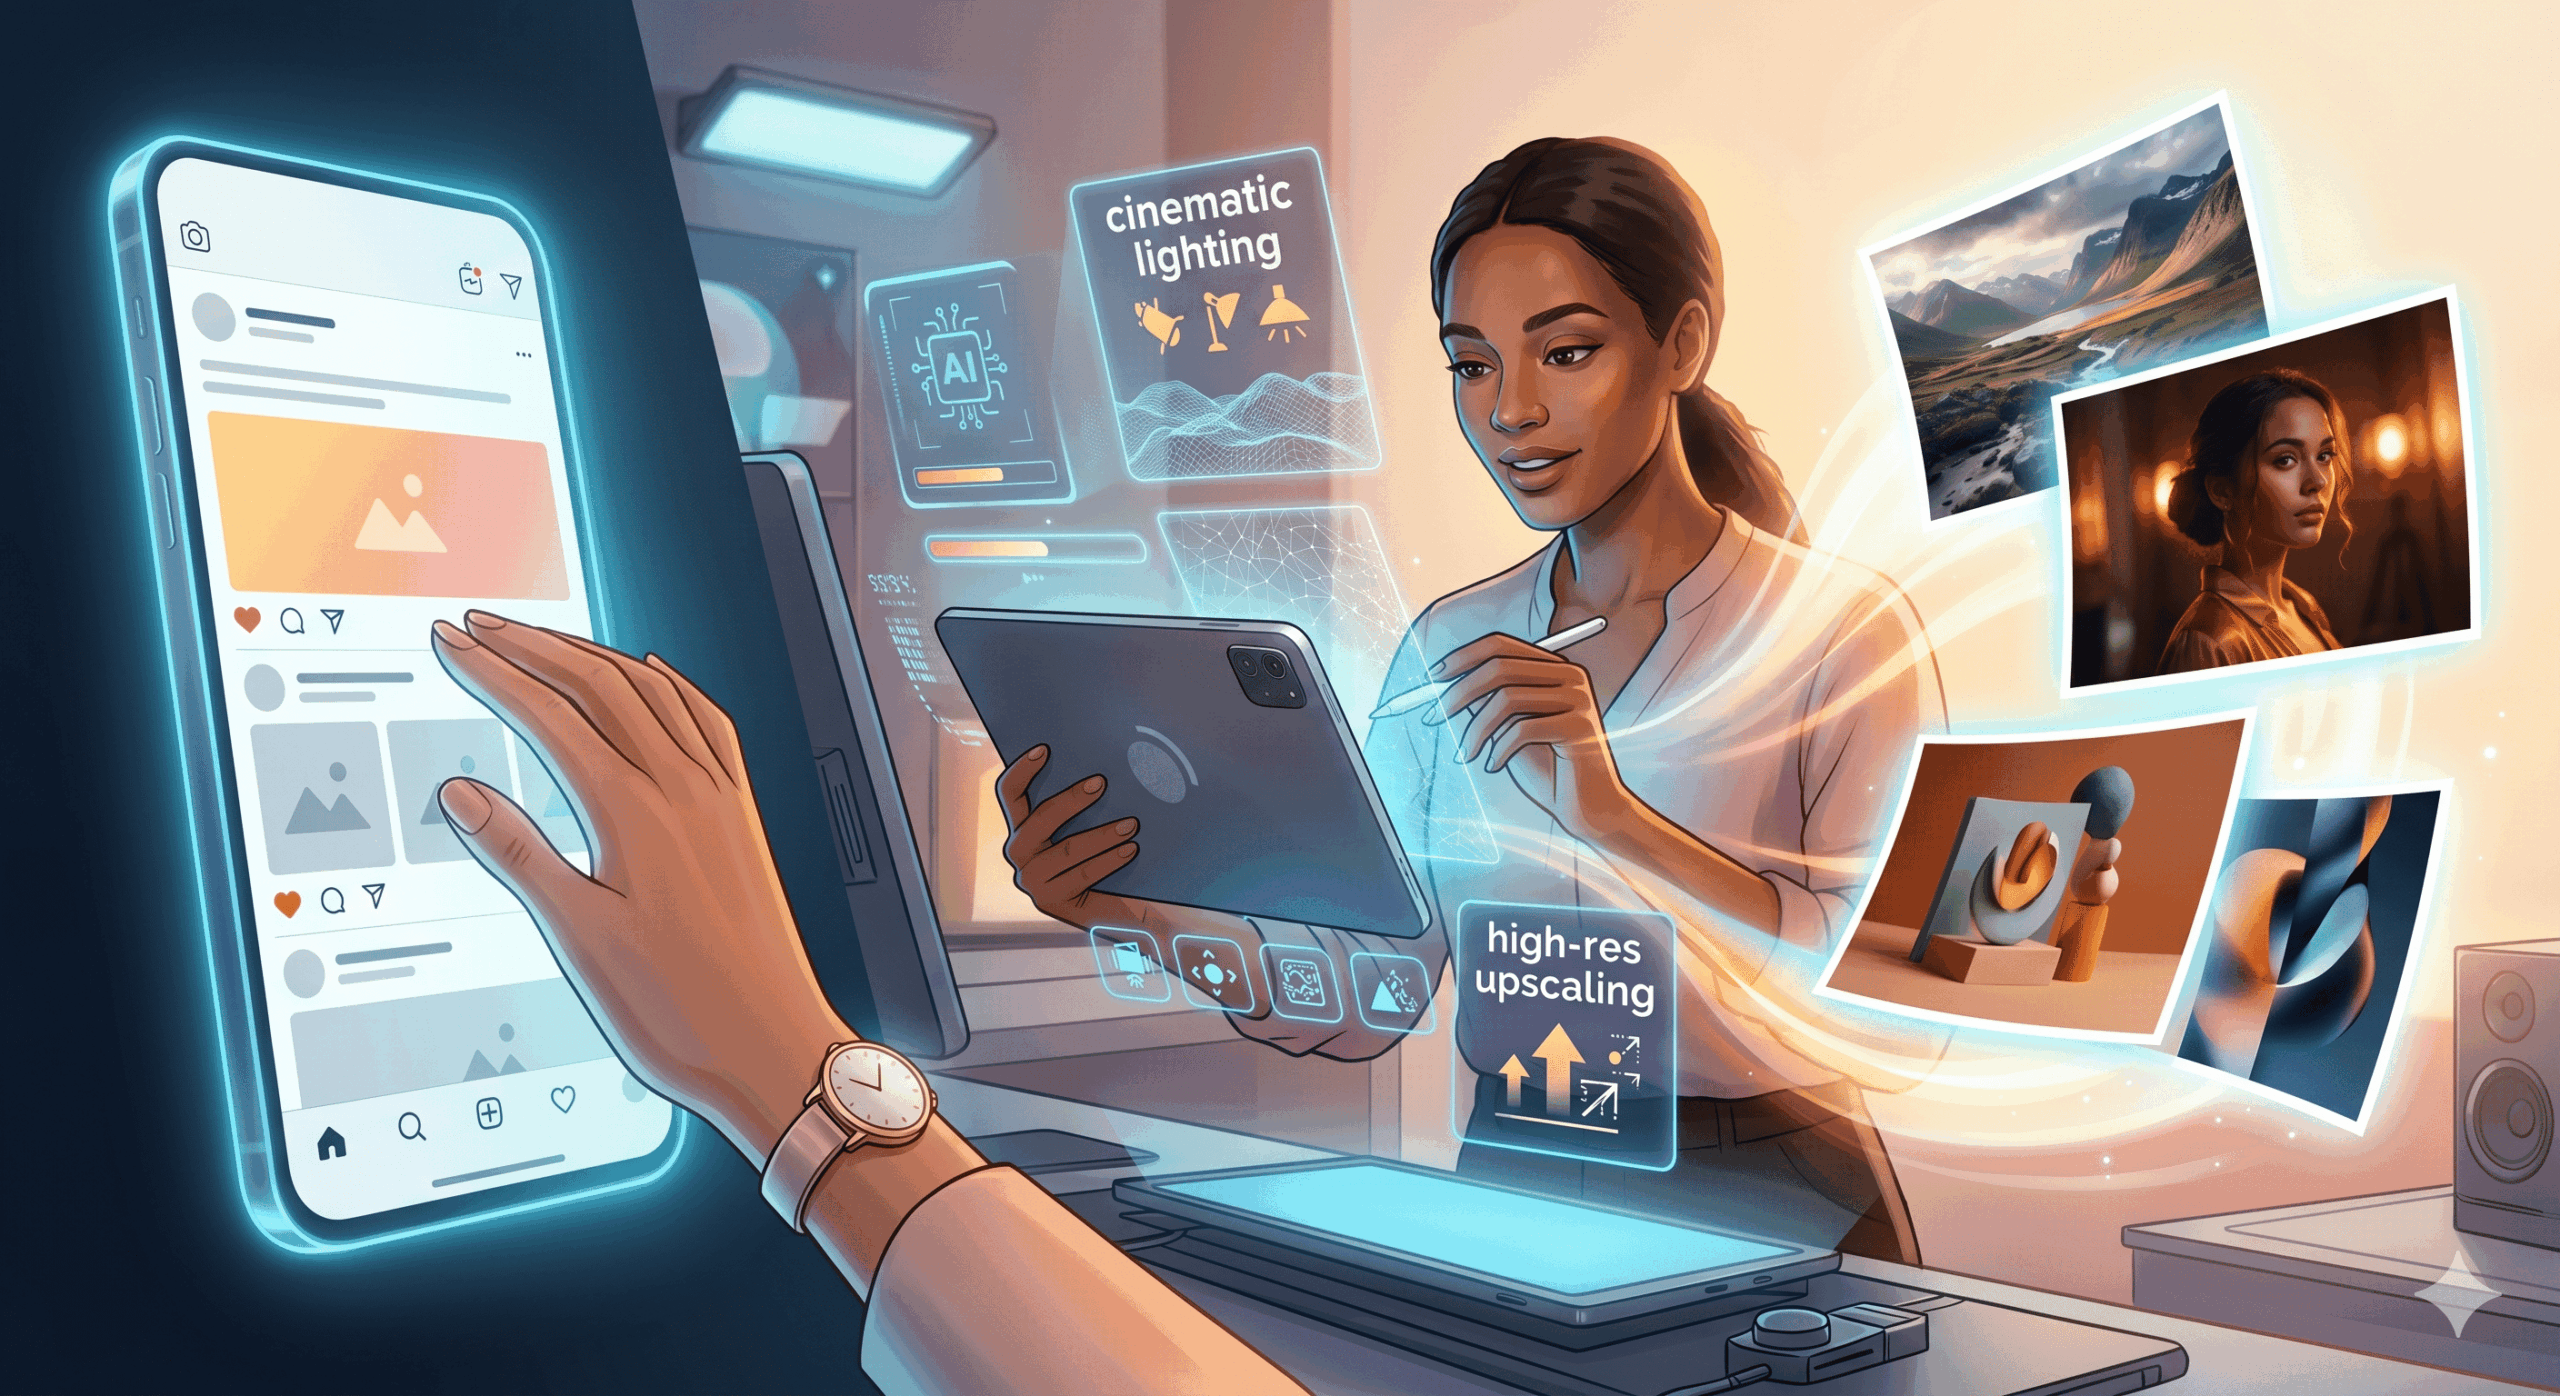
4. Specify Lighting and Mood
Lighting plays a crucial role in photography. Use descriptive terms:
- “Dramatic lighting”
- “Soft, diffused light”
- “Backlit”
- “Volumetric lighting”
- “Cinematic lighting”
- “Gloomy atmosphere”
- “Joyful and vibrant”
5. Mention Key Elements and Details
Include specific objects, textures, colors, and even emotions:
- “A vintage leather armchair”
- “Dewdrops on a spiderweb”
- “Vibrant emerald green”
- “A sense of wonder”
6. Experiment with Negative Prompts (Where Available)
Some platforms allow you to specify what you *don’t* want in the image. This is useful for eliminating unwanted elements, such as “blurry” “low resolution” “ugly” or “watermark.”
7. Use Keywords Effectively
Think of keywords that best describe your desired image. Combining descriptive adjectives with nouns and verbs is essential for successful AI image generation.
Example Prompt Breakdown
Let’s break down a good prompt: “A majestic lion with a flowing mane standing on a rocky outcrop overlooking a savanna at sunrise, golden hour, cinematic lighting, photorealistic, Nikon D850, 85mm lens, f/1.8, ultra-detailed.”
- Subject: “A majestic lion with a flowing mane”
- Action/Pose: “standing on a rocky outcrop”
- Setting: “overlooking a savanna”
- Time/Atmosphere: “at sunrise, golden hour”
- Lighting: “cinematic lighting”
- Style: “photorealistic”
- Technical Details (mimicking camera settings for realism): “Nikon D850, 85mm lens, f1.8”
- Quality: “ultra-detailed”
The Process of Generating Your AI Photo
Once you’ve chosen your AI tool and crafted your prompt, the generation process is typically straightforward:
- Access the Platform: Log in to your chosen AI generator’s website or Discord server.
- Enter Your Prompt: Type or paste your carefully crafted text prompt into the designated input field.
- Generate: Click the “Generate,” “Create,” or similar button. The AI will then process your request.
- Review and Refine: The AI will usually provide several variations of your image. Review them carefully. If an image is close but not perfect, you can often iterate by:
- Editing the prompt: Tweak your existing prompt to make minor adjustments.
- Generating variations: Most platforms allow you to generate variations of a specific image you like.
- Upscaling: Once you find an image you’re happy with, you can usually upscale it to a higher resolution.
- Download: Save your final masterpiece to your device
Beyond Basic Generation: Advanced Techniques
As you become more comfortable, you can explore advanced techniques to achieve more nuanced results:
- Image-to-Image Generation: Some tools allow you to upload an existing image and use a text prompt to modify it or generate a new image based on its style or content.
- Inpainting and Outpainting: These features allow you to selectively edit parts of an AI-generated image (inpainting) or expand the image beyond its original borders (outpainting), maintaining the existing style and content.
- Style Transfer: While not strictly photo generation, understanding style transfer can inform your prompts, allowing you to blend the style of one image with the content of another.
- Seed Values: For advanced users, understanding “seed” values can help in recreating or slightly modifying specific results, ensuring reproducibility.
Ethical Considerations and Best Practices
While the capabilities of AI photo generation are immense, it’s crucial to be mindful of ethical considerations:
- Copyright and Ownership: The legal landscape around AI-generated art is still developing. Understand the terms of service of the platform you use regarding ownership and commercial use.
- Misinformation and Deepfakes: Be responsible. AI can be used to create convincing fake images. Avoid using AI to spread misinformation or create harmful content.
- Bias in AI: AI models can inherit biases from their training data, which can manifest in generated images. Be aware of this and try to counteract it with inclusive prompts.
- Attribution: While not always legally required, it’s good practice to attribute AI-generated images when appropriate, especially in creative contexts.
- Originality vs. AI: View AI as a tool for creativity, not a replacement for human artistic vision. The most compelling results often come from a collaboration between human intent and AI capability.
The Future of AI Photography
AI photo generation is more than just a trend; it’s a fundamental shift in how we create and interact with visual media. As the technology continues to advance, we can expect even more realism, control, and accessibility. From generating personalized marketing materials to visualizing complex scientific concepts and creating entirely new artistic worlds, the possibilities are virtually limitless. By mastering how to make AI photos, you’re not just learning a new skill; you’re stepping into the future of visual storytelling and artistic expression.